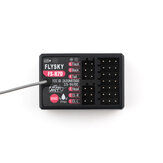
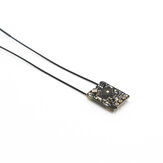
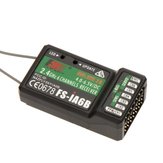
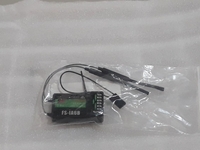
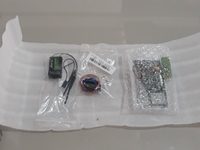
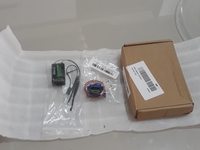
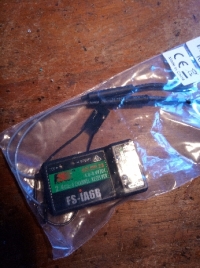
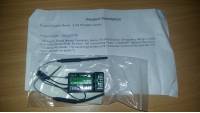
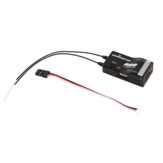
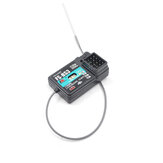
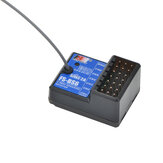
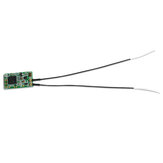
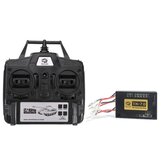
Receptor FlySky 2.4G 6CH FS-iA6B com saída PPM e porta iBus
US$11.38
Uma parte da revisão foi traduzida automaticamente.

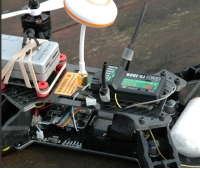
Using this on an Eachine 250 Racer with Flysky-i6 transmitter. Range and reliability is extremely good. Price is unbeatable. Two-way data link allows monitoring of Racer battery voltage and low battery alert (using the RC groups mod to monitor external voltage instead of RX voltage - that is the yellow wire emerging from a small notch made in the casing at the joint line in the attached photo). I have tried a Flysky CVT01 voltage measurement module which works well but the Flysky-i6 transmitter does not allow me to set a low voltage alert for the measurement returned by the CVT01 - so the RC groups mod is better in this respect.

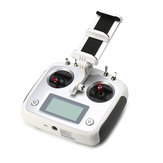
Works GREAT! with my new FS-i6. Great to have the expanded range and two way communication. Thanks Bangood And FlySky!

os produtos chegaram perfeito só os correios daqui que demoram mais tive todo apoio da bangood .sempre me orientou com o pedido . e não foi o primeiro e nem o último vou comprar mais obrigado bangood.


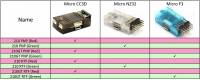
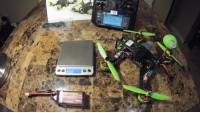
It's green! You gotta love this quad (packaging, components, price)! I can't imagine a better first-time FPV racing quad. The F3 color scheme really comes alive in low light conditions because the individual ESC's, PDB, and rear LED strip all glow green. Mine came ready-to-fly. I didn’t need to put this ‘on the bench’ to bind the transmitter or setup the ESC’s, flight controller, etc. Here’s the steps I took: Step 1: Install the antenna on the VTx port on the top plate. This is very important because the Video Transmitter (VTx) would otherwise overheat and fail within minutes of plugging the battery into the quad. Step 2: Ensure the props are NOT installed. Again, this is an important precaution when first introducing the transmitter to the quad's receiver. Step 3: Feed the battery strap through the long slits on the top-plate. Strap down the battery but DO NOT apply power to the quad. Step 4: Turn on the transmitter and place all switches up, and spin the rotary dials fully CCW to their stops (10 o'clock position). Also retard the throttle to idle/cutoff (fully aft). Step 5: Power the quad and wait for beep sequence from the flight controller. You should see a steady red light on the VTx just under the quad's top plate. And NO red light on the flight controller. If the VTx red light is blinking then you may need to bind the Tx with the Rx (reference YouTube "FS-i6 binding"). If the flight controller is flashing red, then repeat Steps 4 & 5 until you hear the flight controller sing. Once the red light on the flight controller extinguishes, flip the SWB (long switch at upper left side of the FS-i6 Tx) down to '2'. The red light on the flight controller should re-appear to indicate 'armed' (and dangerous). Now (without the props installed) you can goose the throttle to check for proper Tx/Rx binding and control. Step 6: Open both bags of props and take out a pair of each. CW=silver nuts; CCW=black nuts. That is '5x4P' (with CCW arrow) on the right-front and left-rear motors, and the '5x4R' (with CW arrow) on the left-front and right-rear. Tighten down the prop nuts Step 7: Open the Instruction Manual to page 4 and note the 3-position SWC switch functions. 1=Auto (self-leveling like toy-quads and camera drones); 2= Mixed (horizon mode combining self-leveling with flips at full stick deflection; not useful in windy conditions); 3=Manual (acro mode with no self-leveling; best learned with a simulator or XK X100 or other light-weight acro quad). In other words, first-time FPV racer pilots should ensure SWC is in position '1' for the first flight of this Kingkong 210GT racer! Step 8: Go fly! Enjoy!!!! (or first test and setup FPV as available) Step 8: Disarm the quad using SWB in position '1'. Unplug the battery on the quad, then turn off the transmitter.


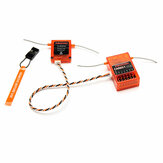
Excelente receptor, com alcance facilmente superior a 1 km com um conjunto de mãos padrão. e mais de 8 canais usando ibus. Para melhorar o peso e o tamanho, remova a caixa plástica e corte os pinos, solde em vez disso


Heb deze gekocht voor combinatie met turnigy tgy-i10 zender en werkt even goed enige verschil is de veel lagere prijs en dat zonder dure verzendingskosten. Gewoon wat langer hoeven te wachten op levering.
O meu receptor favorito de afhds 2a, o melhor para 5" quads para cima ou asas. Retire o receptor do invólucro e corte os pinos para maltê-lo mais compacto e leve. Tive mais de 3,5km com isso. não pode falhar


I used it .it's very use full for flying quad .


Great product, high quality and works fine in PPM - iBus connection with FlySky FS-i6.


Excelente produto conforme o descrito no anúncio tudo 🆗 funcionando perfeitamente testando e aprovado.


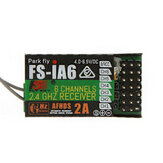
Receptor FlySky FS-iA6 2.4G 6CH AFHDS 2A para transmissor FS-i10 FS-i6


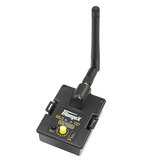
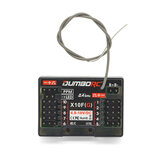
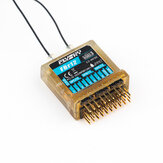
Receptor RC F701 2.4GHz 7CH de Longo Alcance PPM DSMX/DSM2 para transmissor JR Spektrum DX6I DX7 DX9
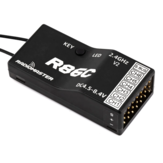
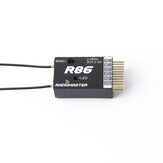
RadioMaster R88 V2 2,4GHz 8CH Receptor Compatível Frsky D8/D16 SFHSS PWM/Sbus

Receptor CM651 DSM2 DSMX compatível de 2.4G 6CH com satélite para transmissor de rádio

Capacitor eletrolítico Power HD RX30 2200uF 10V para transmissor Radiolink RC3S RC4G WFLY X4 DIY
Receptor mini Flysky FS-BS6 com sistema de estabilização gyro para transmissores GT2E/IT4S/GT5
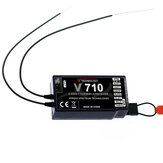
Receptor V710 2.4G 7CH para Spektrum Storm G152 DSMX DSM2 Drone RC FPV Racing Multi Rotor

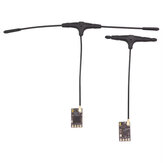
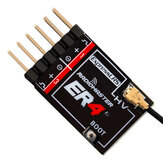
Receptor de RC de Longo Alcance HAKRC ELRS 2.4GHz/915MHz com Antena Tipo T para Drone de Corrida FPV


CYCLONE ELRS 2.4GHz 7CH Receptor RX PWM com Protocolo CRSF para Drones de Corrida RC FPV
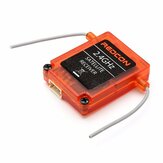
Receptor de satélite 2.4G para transmissor DSM2 DSMX JR Spektrum

Capa protetora para controle remoto Radiomaster Boxer (peça de reposição)